Course Description
“
The first part of this course will focus on the full Adobe Photoshop program. The second part covers the important parts of Lightroom. There is also a series of PDF notes with step-by-step instructions geared towards the Adobe Elements program. All the images used in the tutorials will also be supplied with this course so you can practise on the actual images used.
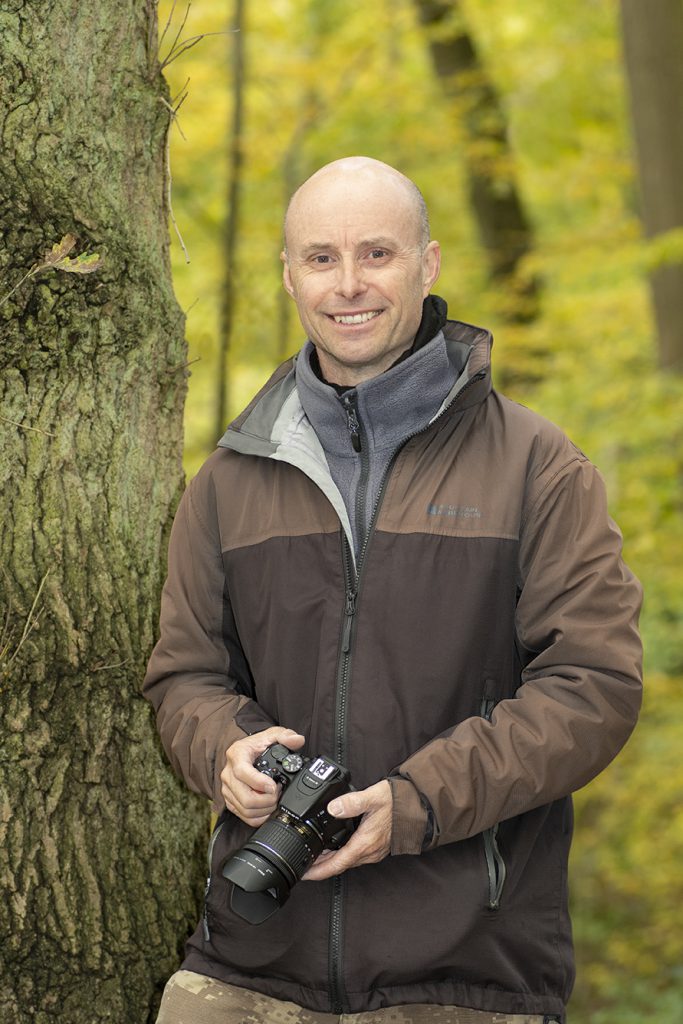
- Steve Hedges LMPA. LRPS
”
Video Lesson Descriptions
Lesson 1
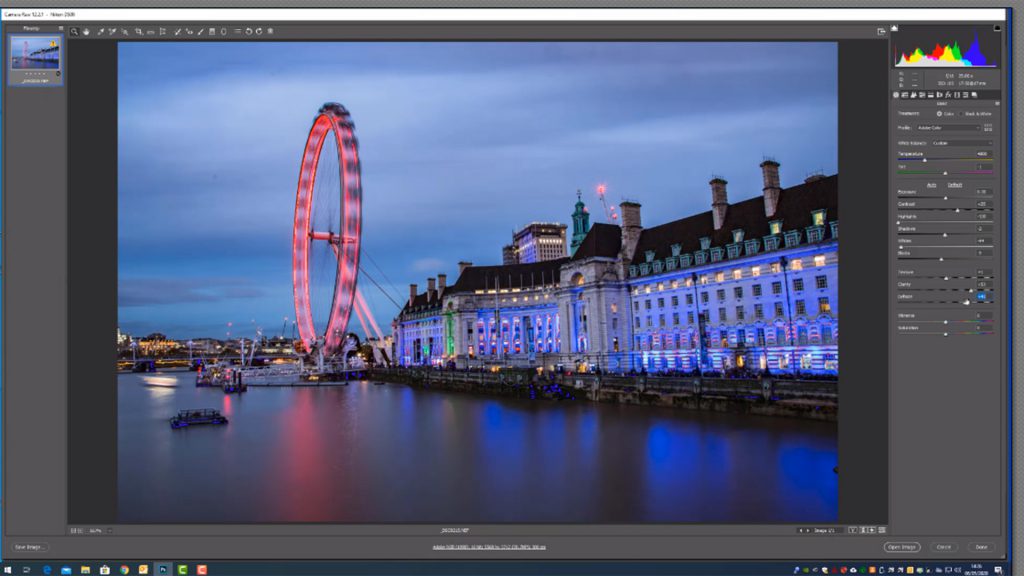
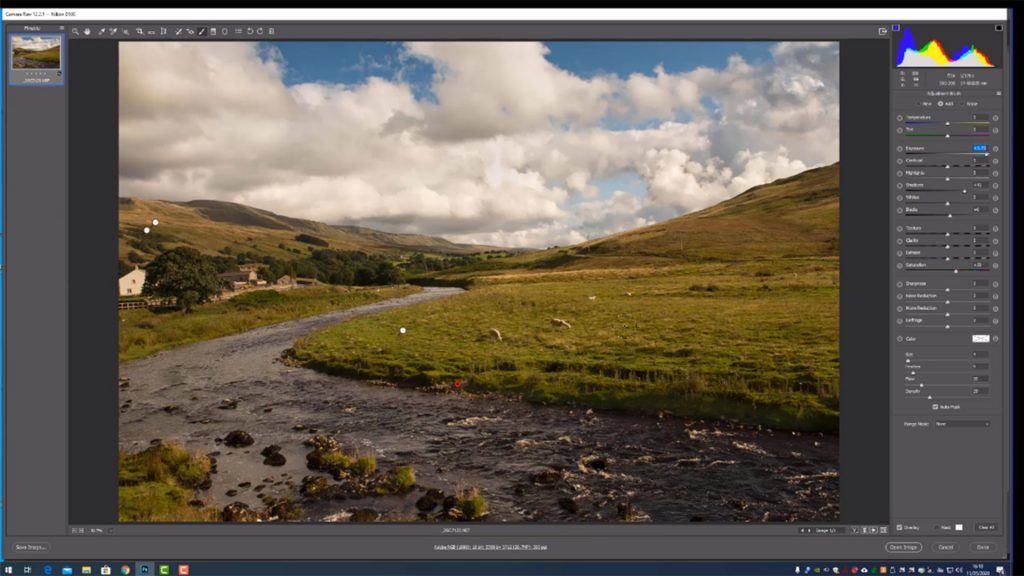
Converting raw files. This lesson covers the basic first tab of the raw file converter. In a later lesson I look at the other tabs and tools of this powerful piece of software. How to straighten a building as well as cloning are also looked at in detail.
Lesson 2
In this lesson we look at contrast and colour control. Levels command, curves command, brightness and contrast, hue and saturation, resizing and resampling an image. What file format to save in and why, saving an image for social media and how to sharpen an image.
Lesson 3
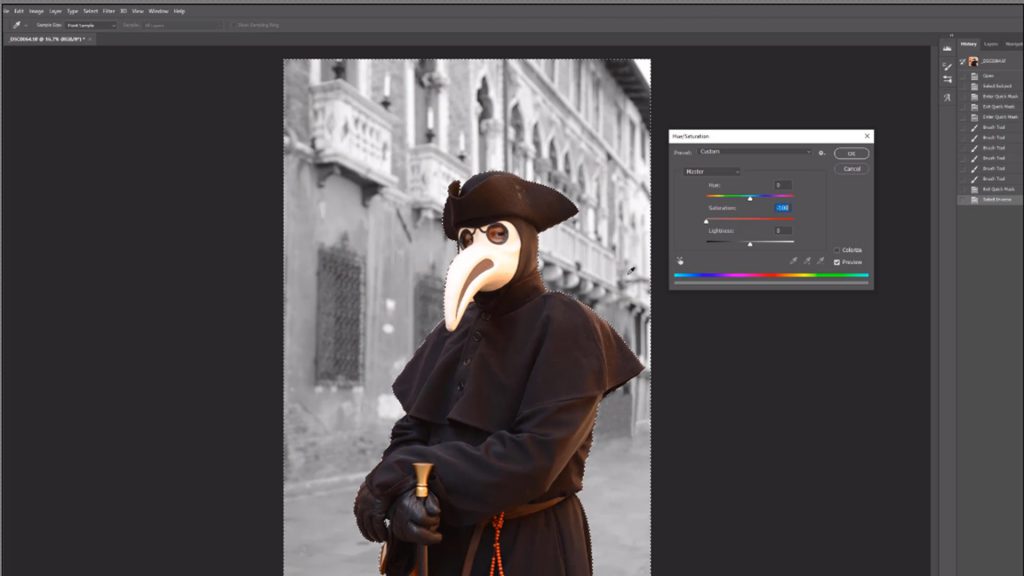
Having the ability to make accurate sections is a key Photoshop skill. It gives us the ability to work on a small part of the image without affecting the rest of the picture. For example, we might want to blur the background of a picture whilst leaving the foreground subject unaltered. A selection would enable us to achieve this aim. Selection tools covered: lasso tool, polygonal lasso tool, magnetic lasso tool, marque tool, magic wand, quick selection tool, magic wand and quick mask mode.
Lesson 4
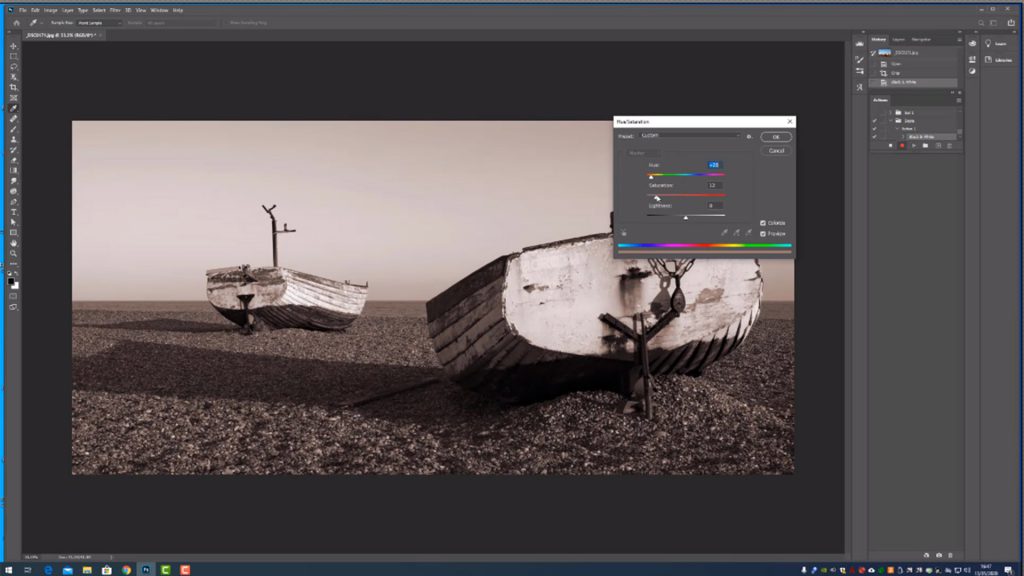
This lesson looks at how to convert a colour image into a black and white one, how to use the dodge and burn tools to selectively darken or brighten individual parts of the image and the sponge tool to individually increase or decrease the colour saturation of the picture. These tools are very powerful and flexible, leading to some remarkable transformations to the tonal range of the image. Last but not least, an example of more advanced raw file conversions using adjustment brushes, radial filter and graduated filters. All the other tabs on the raw file converter are also explored.
Lesson 5
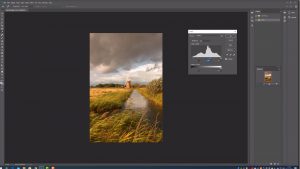
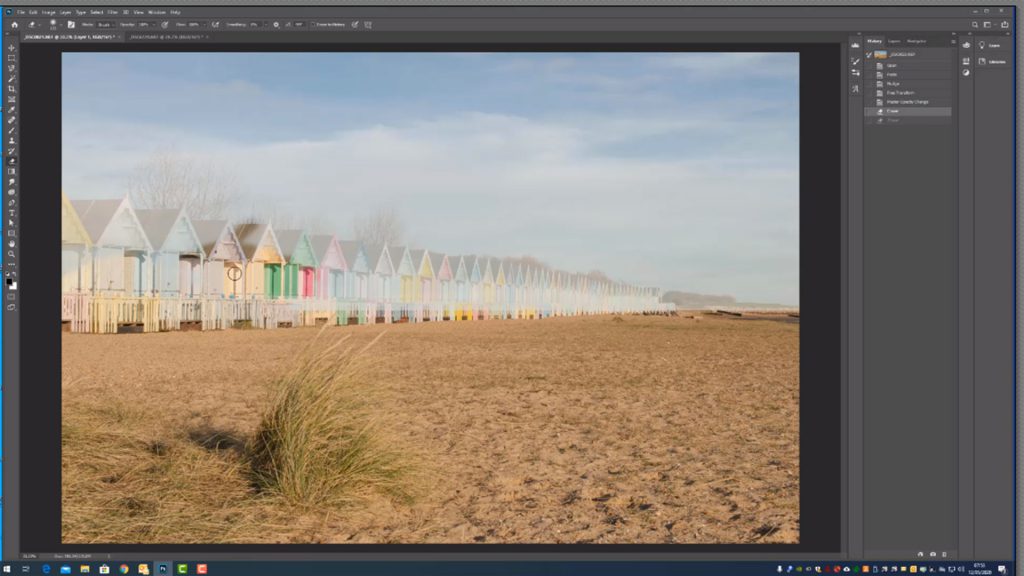
Layers are probably the most powerful aspect of Adobe Photoshop. They give us the ability to drop a new sky into our picture, create photo montages, and blend one object into another. They also give us the ability to make adjustments to one layer of the picture without affecting the other layers in the image, which is a very useful option. This lesson gives a simple explanation of how layers work before looking at adjustment layers, adding a new sky to a picture and creating a photo montage. Also covered is the text tool and how to create a border or frame around the image.
Lesson 6
This lesson looks at how to create an action, the use of smart filters and the healing brush.
Lightroom
The library module is where we import our images into light room. We can then catalogue those images so we are able to find them in the future.
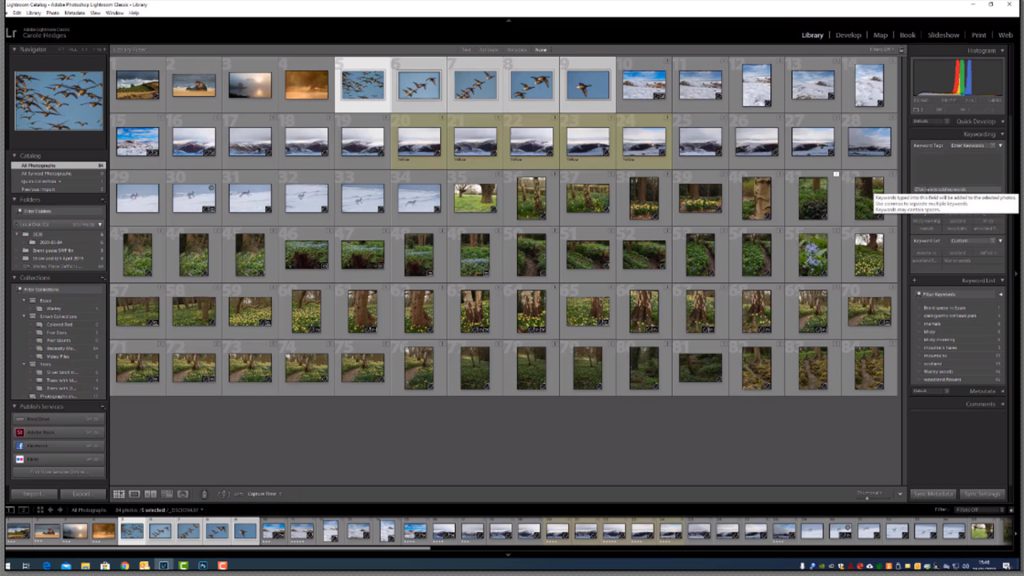
Library Module
The library module is where we import our images into light room. We can then catalogue those images so we are able to find them in the future.
This lesson covers how to import images into Lightroom, how to keyword images, how to create collections and smart collections in Lightroom.
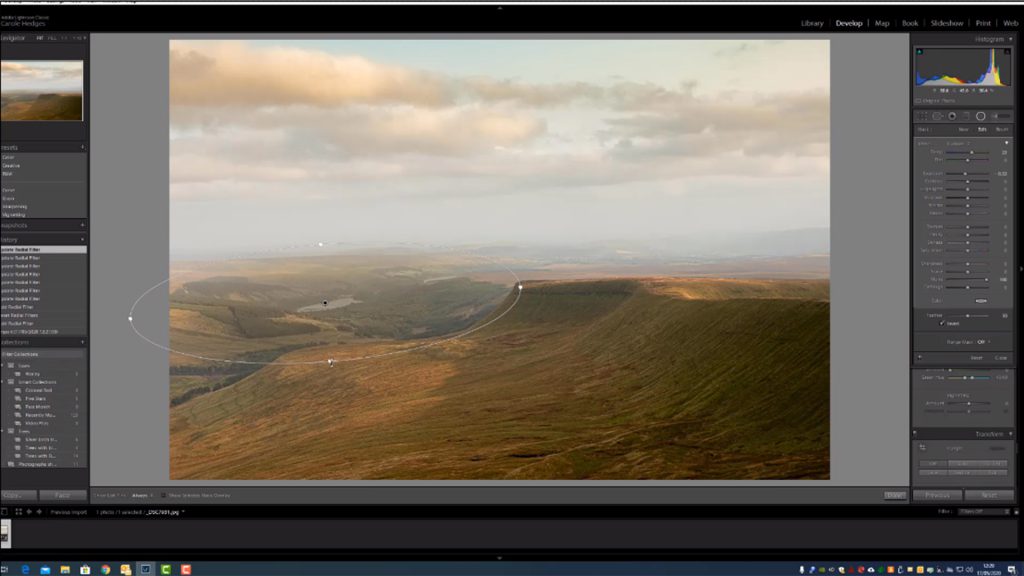
Develop Module
This lesson covers all the tabs in the Develop module. It’s where the main adjustments are made to the whole image. These would be known as global adjustments: colour temperature adjustments, hue saturation and vibrancy adjustment, exposure adjustments, tone curve, split toning and the lens correction tab.
Also explained in detail are the options that make Lightroom’s Develop mode such a flexible way to edit raw files. Basic tools such as the crop and spot removal tool are covered along with the far more useful graduated filter, radial filter and adjustment brush. All of which are used to make local adjustments to the image. By local adjustments we are referring to the ability to make changes to small parts of the image without affecting the whole picture.
Tutor Support
“
Throughout the duration of the course I will be available to answer any questions you might have about the course material. Again, I think this is an important part of the course.
- Steve Hedges LMPA. LRPS
”
Taster Clip

How to use this website
Firstly, thank you for your interest in our website.
Once you have added a course or a lesson to the shopping cart and paid the appropriate amount, you will receive an email with a link. Just click on the link and you will then be able to stream the lesson and/or download it.
If you have any problems please email us via the contact page.
Send this course as a gift!