Course Description
“
This Landscape Photography course is ideal if you would like to master the skills to create fantastic landscape images that have real impact and mood.
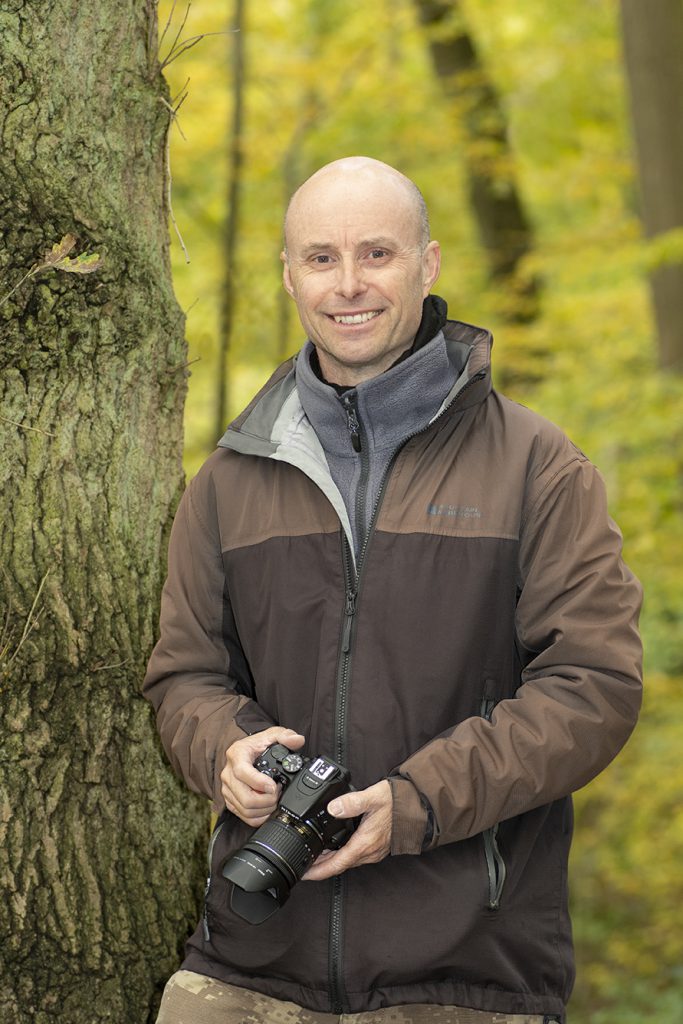
- Steve Hedges LMPA. LRPS
”
Video Lesson Descriptions
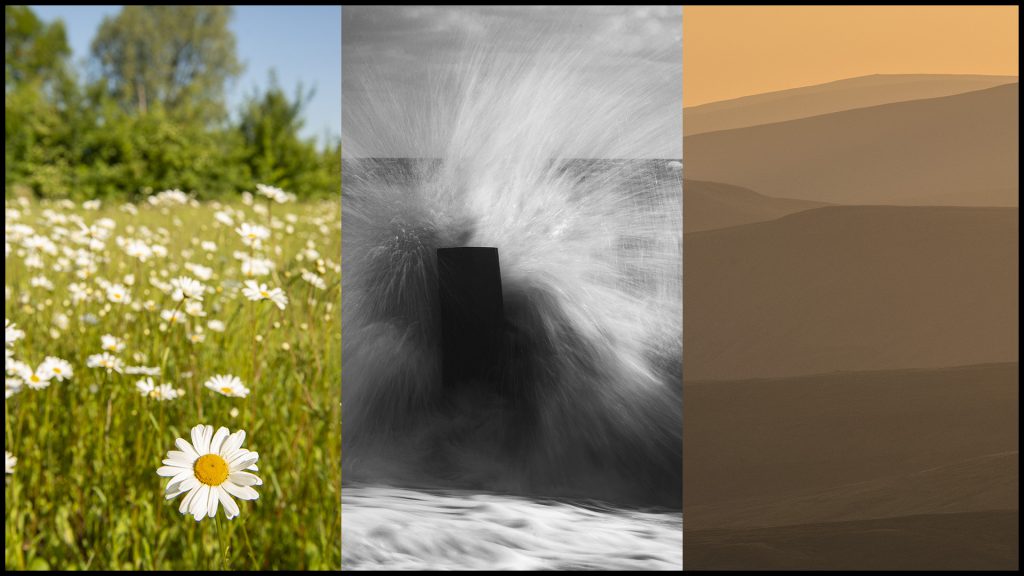
Lesson 1: LENS SHUTTER AND APERTURE
This lesson will show you how to use focal length creatively. How to use a wide angle lens to create a dynamic composition or how to use a telephoto lens to really focus attention on your subject. Depth of field is an enormously important photographic tool; we cover this subject in depth. What shutter speed we choose is an equally important consideration which is also discussed in detail. How sensor size affects the image, image stabilisation and why and when we should use a tripod finishes off this lesson. Includes comprehensive PDF notes.
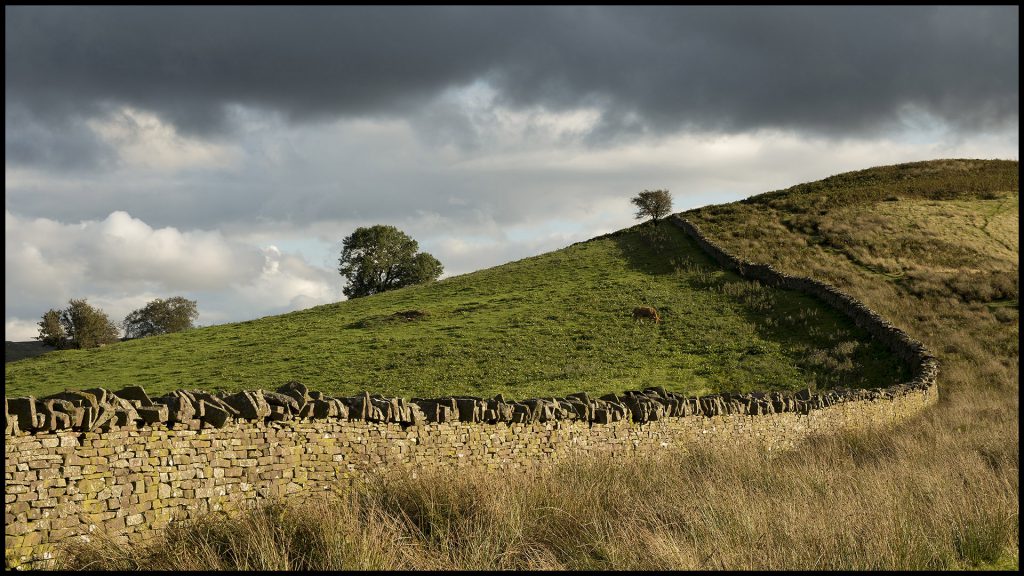
Lesson 2: DEVELOPING THE PHOTOGRAPHER’S EYE
This lesson is about the thought process behind creating an image that quite literally leaps off the frame; one that has real impact. By using a repeatable workflow you will learn how to make the right technical choices for each image as well as Identifying the right compositional tools to use to create a dynamic image. How to focus attention on the subject, how to simplify the image and how to use separation are all important considerations when it comes to constructing a picture that has impact. Includes comprehensive PDF notes.
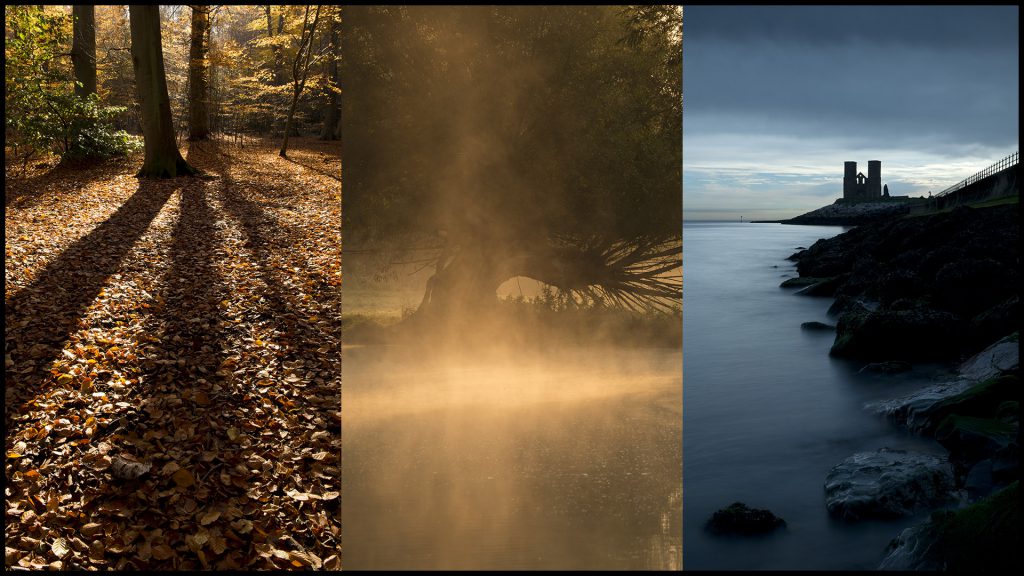
Lesson 3: LIGHT AND COLOUR
This lesson covers the creative potential of light and colour. There is no such thing as bad light; you just need to match the right light to right subject. We will discuss the quality of light, the direction of light and the colour temperature of light plus looking at what type of light will work for a particular subject. Once how to use natural light has been fully explained we will then move on to colour. How to use the artist’s colour wheel is another important tool in our photographer’s tool box. How colour affects the mood of our photograph and how the viewer will react to it will be fully explored. Includes PDF backup notes.

Lesson 4: FILTERS
This lesson looks at the useful photographic filters available and how to use them. Graduated ND filters, ND filters, polarizing filters, UV filters are all discussed along with the merits of the screw in filters and filter systems. Includes PDF backup notes.
Lesson 5: EXPOSURE
As the name suggests this lesson is all about getting the right exposure for your images. This includes subjects such as metering modes (aperture shutter priority and full manual), what metering patterns to use (multi, centre weighted, partial and spot) and how to use them. 18% grey and why it’s important. Incident light meters and the grey card explained. Exposure latitude, integrated light readings and exposure bracketing are also explained in detail. After this lesson you should have a thorough understanding of all aspects of getting the correct exposure. Includes PDF backup notes.
Lesson 6: CONTROLLING DEPTH OF FIELD
Controlling depth of field is a key skill for the photographer. In this lesson we look at this subject in detail. All the factors controlling depth of field will be explained along with hyper focal focussing, finding the “sweet spot” of a lens and how diffraction affects the image.
Lesson 7: HOW TO SHOOT A DIGITAL PANORAMIC
There are occasions when a single frame will not do the subject justice. These are the times to shoot a digital panoramic image which involves taking a number of images and stitching them together in a post -production software package such as Adobe Photoshop. In this lesson I will show you how to take a number of photographs that will allow your software to effortlessly stitch them together to create a dynamic panoramic image. This lesson also includes the post production computer part of the process.
Lesson 8: HIGH DYNAMIC RANGE PHOTOGRAPHY (HDR)
There are times when the camera’s digital sensor cannot record the whole range of light tones in the image. There will be either under or over-exposure. There are two ways around this problem. Sometimes an ND graduated filter can be used. It’s not always possible to use an ND grad though. This is where the HDR technique comes into its own. In this lesson I will explain how to take the images required to produce an HDR image and then look at the post-production computer part of the technique. This lesson will give you much greater flexibility when it comes to achieving the correct exposure of your image in challenging lighting conditions.
Tutor Support
“
Along with the video lessons this course also includes projects to be completed which you would then email to me for a constructive critique. Photography is a practical subject so I think the projects add an important practical element to this course.
Throughout the duration of the course I will be available to answer any questions you might have about the course material. Again, I think this is an important part of the course.
- Steve Hedges LMPA. LRPS
”
Taster Clip

How to use this website
Firstly, thank you for your interest in our website.
Once you have added a course or a lesson to the shopping cart and paid the appropriate amount, you will receive an email with a link. Just click on the link and you will then be able to stream the lesson and/or download it.
If you have any problems please email us via the contact page.
Send this course as a gift!