Course Description
“
This distance learning photography course is based on a number of classroom photography courses I teach at various locations around the Essex area. After helping many people to improve their photography, we decided to combine our series of classroom photography courses into one distance learning photography course available to you, regardless of where you live.
This course consists of twenty-five hours of video lessons, twenty-six sets of PDF notes (which add up to over 100,000 words) and are packed full of illustrations and photographs. It has everything you need to teach you the fundamentals of photography moving up to advanced levels of photography skills and knowledge.
- Steve Hedges LMPA. LRPS
”
WHY DO THIS DISTANCE LEARNING PHOTOGRAPHY COURSE?
I find that the biggest reason people attend my lessons is their love of photography and their desire to improve their skills and therefore the quality of the pictures they take. Some students have become so serious about the medium, they are now submitting images to stock libraries. I also have students now embarking upon a career as a photographer. So whether you wish to get started in a new career, make extra money part time, improve your photography for the love of it, or really, just want to take better holiday shots or pictures of the family, this distance learning course will help you to achieve your ambitions. The lessons are split into five modules:
Video Lesson Descriptions
MODULE ONE:

Lesson 1: BEGINNER LESSONS
Covers how to access your camera’s menu and functions, an explanation of camera formats, focus modes, exposure metering modes, exposure modes, ISO numbers, white balance, using white balance creatively, image quality settings, use of the histogram, exposure compensation, exposure lock, exposure bracketing, shutter release modes, colour space, D lighting and memory card care.
Lesson 2: LENS SHUTTER & APERTURE
Covers explanation of focal lengths, prime lenses, zoom lenses, angle of view, properties of wide angled lenses, properties of telephoto lenses, how sensor size affects focal length, explanation of depth of field, exaggerated perspective, compressed perspective, explanation of aperture, explanation of the F number, lens speed, advantage of fast lenses, how to control depth of field, depth of field preview, how to use shutter speed creatively, variables that affect motion, panning, camera-shake. Also tripods and other supports and cable-release.
Lesson 3: DEVELOPING THE PHOTOGRAPHER’S EYE
Covers developing the photographer’s eye. How to compose an image, rules of composition, creative use of depth of field, creative use of shutter speeds, separation of subjects, golden ratio/mean.
Lesson 4: EXPOSURE
Covers exposure, taking a light reading, types of light meter, 18% grey, how to expose for dark subjects, how to expose for light subjects, what is a grey card, how to take a substitute light reading, exposure latitude.
MODULE TWO:
Lesson 5: LIGHT & COLOUR
The Intensity of light, direction of light, colour temperature of light, when to use hard light and soft light, how direction of light affects the subject, understanding how colour works, understanding how colour temperature affects the mood of an image.
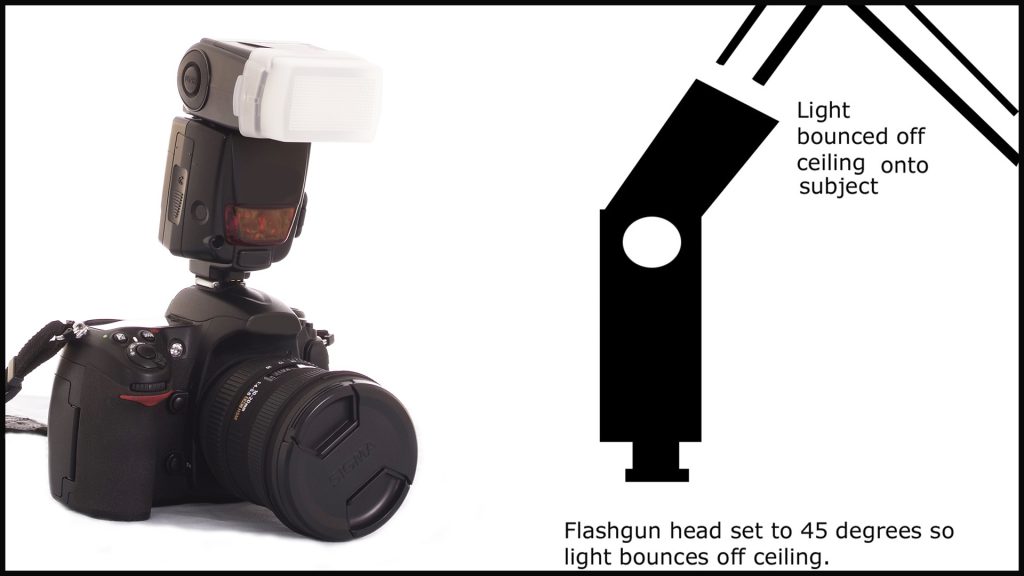
Lesson 6: ARTIFICIAL LIGHT
Incandescent light sources, short duration light source, built-in flash units, hot-shoe mounted flash units, camera flash modes, flash exposure, flash exposure compensation, fill-in flash, metering options, diffusing flash output, bounce flash, guide numbers and trigger voltage and flash synchronisation.
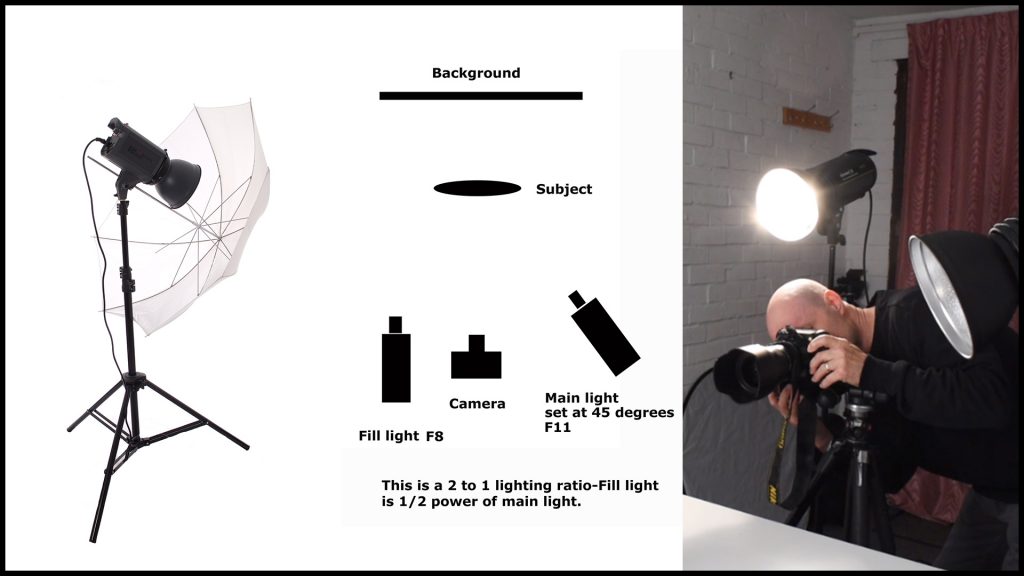
Lesson 7: HOW TO USE STUDIO LIGHTING
Studio-style lighting. Incandescent lighting, flash lighting, advantages of studio flash, advantages of continuous studio lighting, flash meters, correct exposure, setting up a home studio, basic studio lighting using more than one light, lighting ratios, lighting accessories, how to trigger studio flash heads.

Lesson 8: STILL LIFE/PRODUCT PHOTOGRAPHY
Three lighting set-ups to photograph different types of subjects, to show shape and form, to show texture, to photograph liquids and glass.

Lesson 8A: FILTERS
What filters to use, filters’ systems, polariser filters, skylight UV (ultra-violet) filters, neutral density filters, graduated neutral density filters, filter factors, correct exposure using different filters.
MODULE THREE:
The first part of this course will focus on the full Adobe Photoshop program. The second part covers the important parts of Lightroom. There are also a series of PDF notes with step-by-step instructions geared towards the Adobe Elements program. All the images used in the tutorials will also be supplied with this course so you can practise on the actual images used.
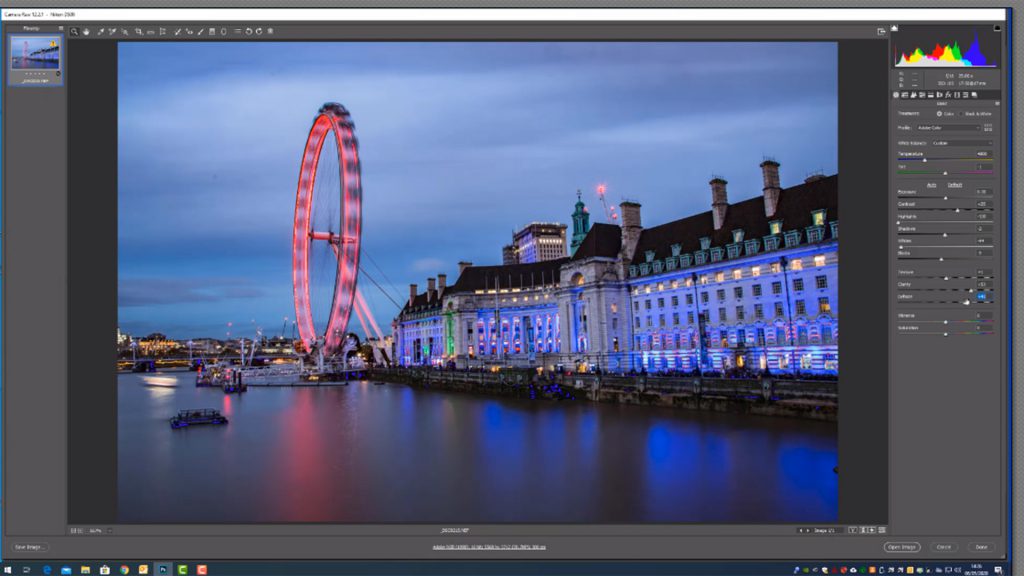
Lesson 1:
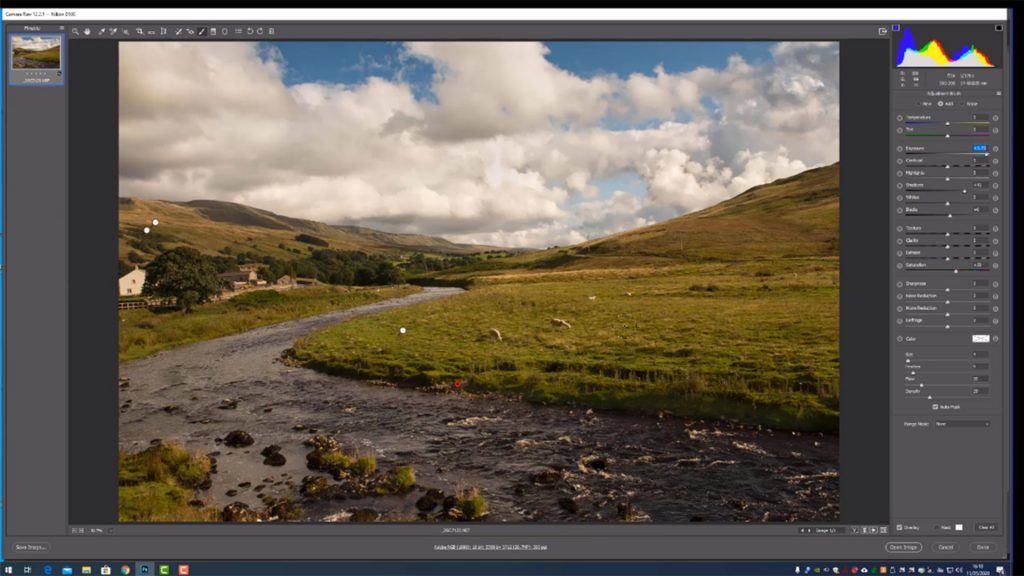
Converting raw files. This lesson covers the basic first tab of the raw file converter. In a later lesson I look at the other tabs and tools of this powerful piece of software. How to straighten a building as well as cloning are also looked at in detail. The duration of this video lesson is thirty-one minutes.
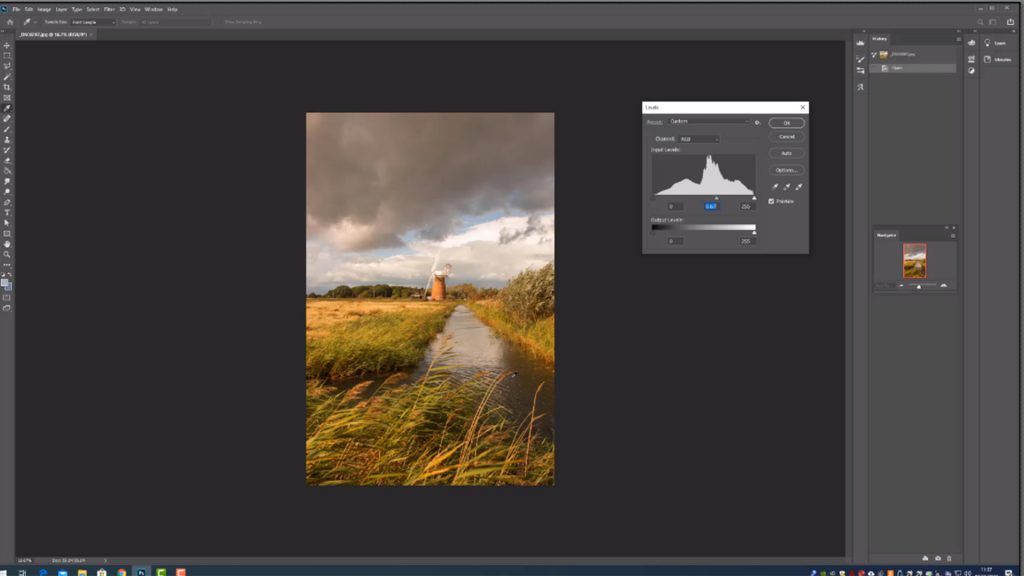
Lesson 2:
In this lesson we look at contrast and colour control. Levels command, curves command, brightness and contrast, hue and saturation, resizing and resampling an image. What file format to save in and why, saving an image for social media and how to sharpen an image. This video is thirty-four minutes long.
Lesson 3:
Having the ability to make accurate selections is a key Photoshop skill. It gives us the ability to work on a small part of the image without affecting the rest of the picture. For example, we might want to blur the background of a picture whilst leaving the foreground subject
unaltered. A selection would enable us to achieve this aim. Selection tools covered: lasso tool, polygonal lasso tool, magnetic lasso tool, marque tool, magic wand, quick selection tool, magic wand and quick mask mode. Duration of lesson: sixty-two minutes.
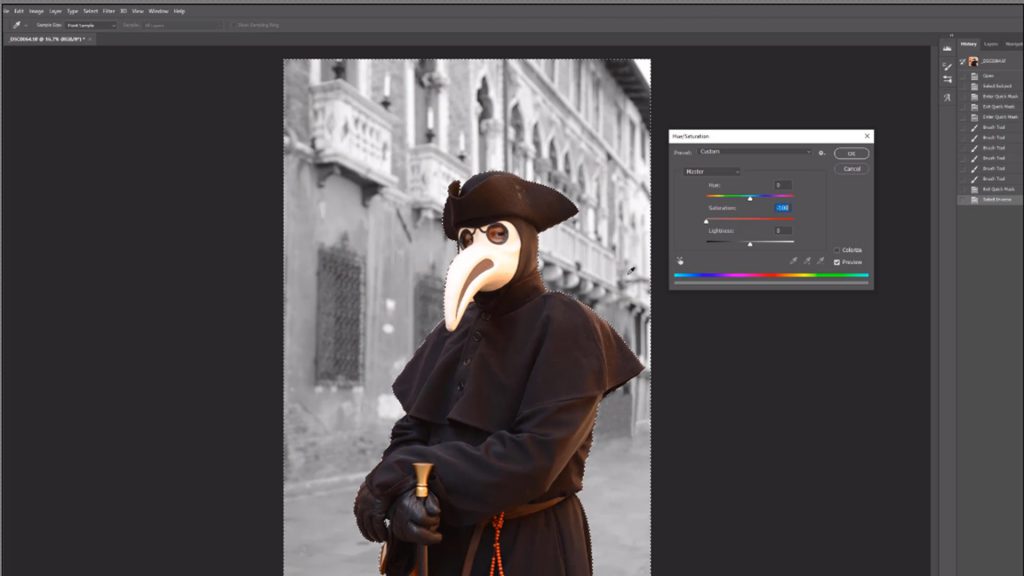
Lesson 4:
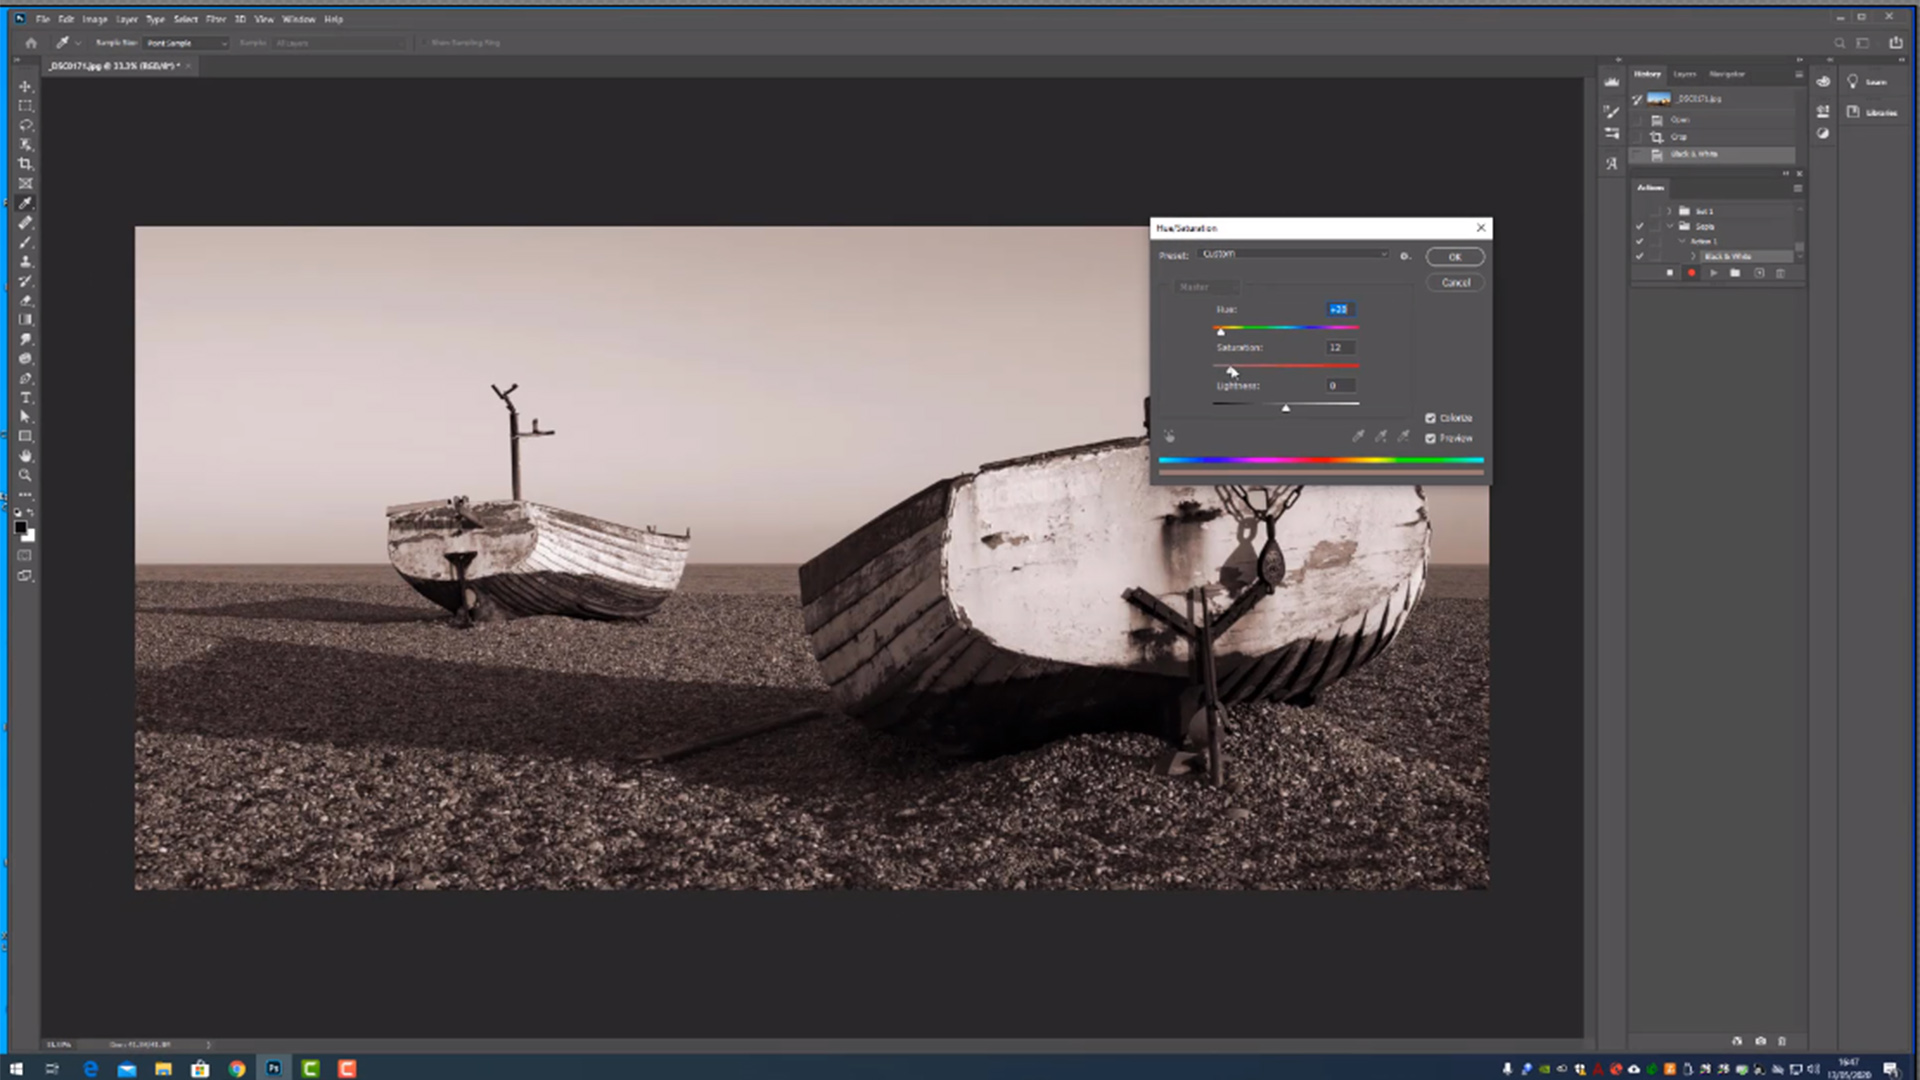
This lesson looks at how to convert a colour image into a black and white one, how to use the dodge and burn tools to selectively darken or brighten individual parts of the image and the sponge tool to individually increase or decrease the colour saturation of the picture. These tools are very powerful and flexible, leading to some remarkable transformations to the tonal range of the image. Last but not least, an example of more advanced raw file conversions using adjustment brushes, radial filter and graduated filters. All the other tabs on the raw file converter are also explored. The duration of this lesson is fifty-two minutes.
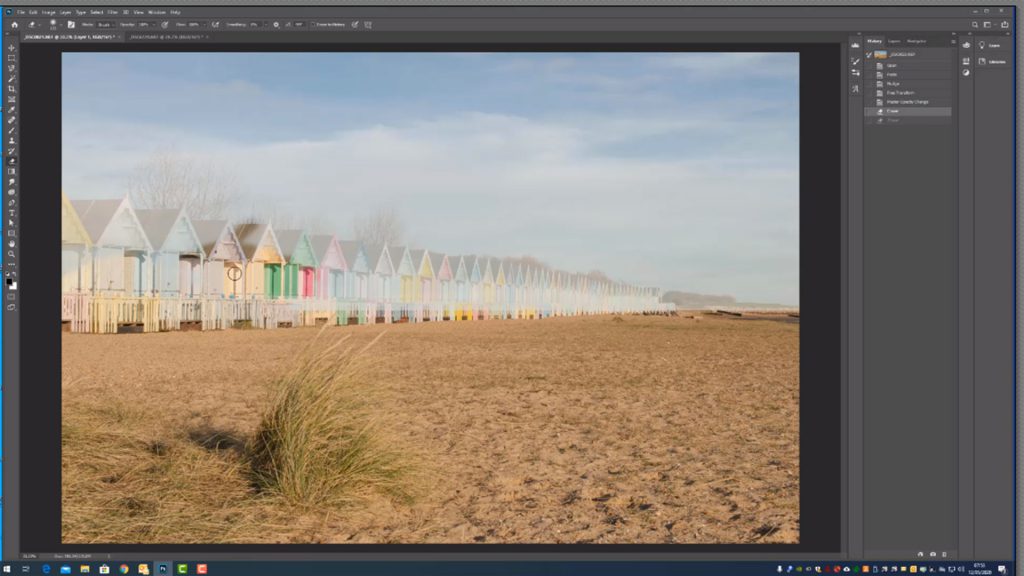
Lesson 5:
Layers are probably the most powerful aspect of Adobe Photoshop. They give us the ability to drop a new sky into our picture, create photo montages, and blend one object into another. They also give us the ability to make adjustments to one layer of the picture without affecting the other layers in the image, which is a very useful option. This lesson gives a simple explanation of how layers work before looking at adjustment layers, adding a new sky to a picture and creating a photo montage. Also covered is the text tool and how to create a border or frame around the image. The duration of this video lesson is 67 minutes.
Lesson 6:
This lesson looks at how to create an action, the use of smart filters and the healing brush.
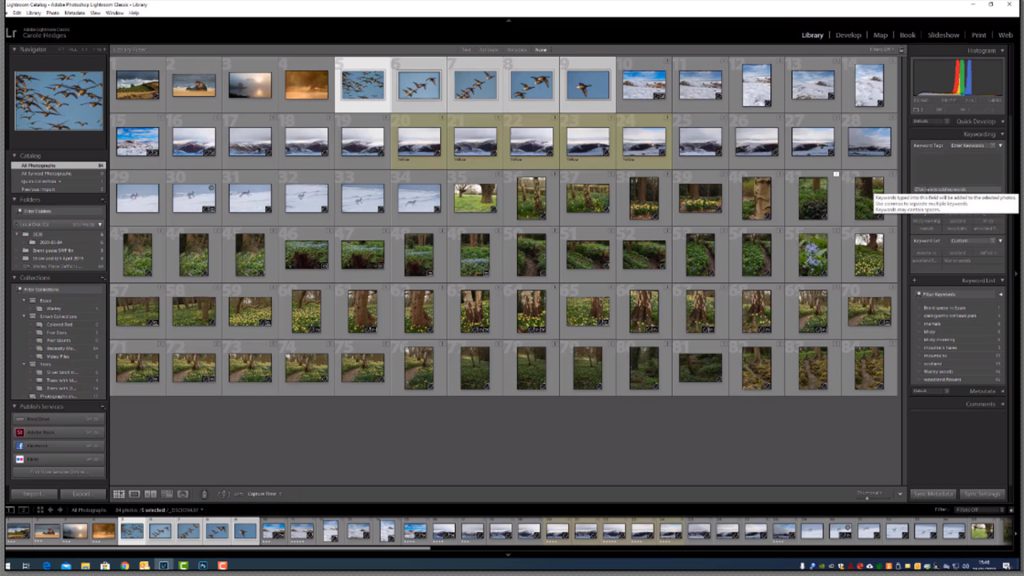
Lesson 7: LIBRARY MODULE
This lesson covers how to import images into Lightroom, how to keyword images, how to create collections and smart collections in Lightroom. Duration of lesson: forty-three minutes.
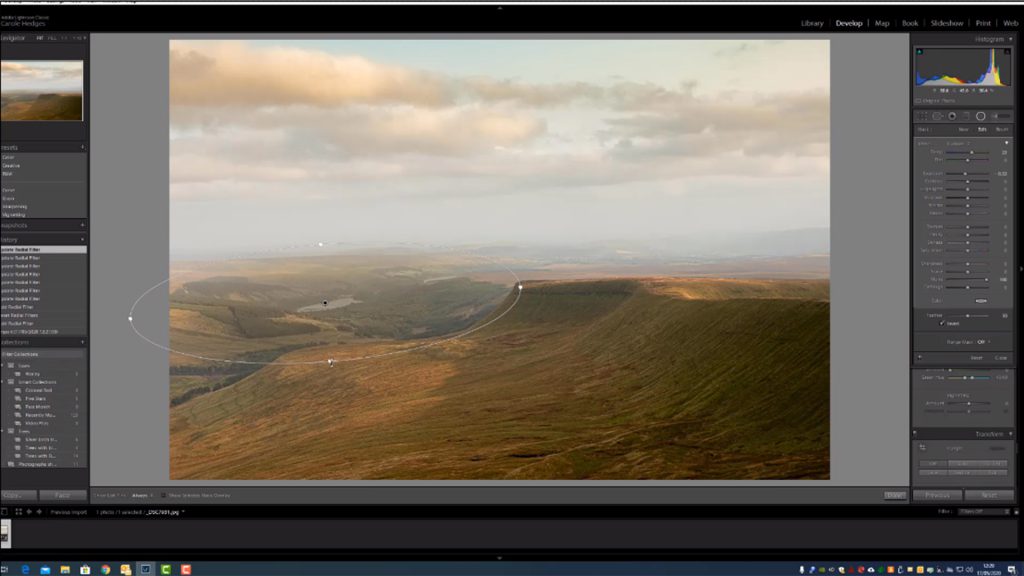
Lesson 8: DEVELOP MODULE
This lesson covers all the tabs in the develop module. It’s where the main adjustments are made to the whole image. These would be known as global adjustments: colour temperature adjustments, hue saturation and vibrancy adjustment, exposure adjustments, tone curve, split toning and the lens correction tab. We then move on to explain all the options that makes Lightroom’s develop mode such a flexible way to edit raw files. Basic tools such as the crop and spot removal tool are covered along with the far more useful graduated filter, radial filter and adjustment brush. All of which are used to make local adjustments to the image. By local adjustments we are referring to the ability to make changes to small parts of the image without affecting the whole picture. Duration of lesson: thirteen minutes.
MODULE FOUR:

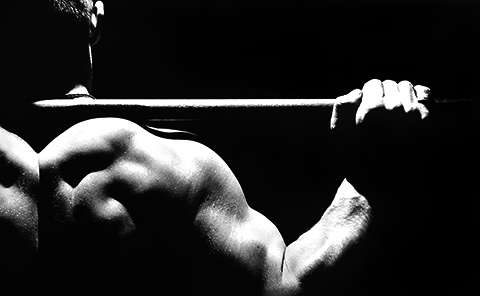
Lesson 1: HEAD-AND-SHOULDERS PORTRAITS
This lessons looks at everything you need to know in order to take head and shoulder portraits. What type of lighting? Daylight or studio lighting is explored in detail. What type and style of background? How to pose the model, how to create the right atmosphere and mood for the image, how to interact with your model in order to make them feel relaxed and how to take a flattering portrait. The technical aspects of portraiture will also be covered including a number of lighting set-ups, where to focus, getting the right exposure and using reflectors. The duration of this video lesson is sixty-eight minutes and includes a comprehensive set of PDF notes.

Lesson 2: PORTRAIT PHOTOGRAPHY PART 2
This lesson follows on from the head and shoulders portrait lesson. It looks at how to pose for a 1/2 length portrait, ¾ length portrait and full-length portrait. How to pose groups of 2, 3, 4, 5 or more people. How to light a white background. More complex lighting set ups will also be demonstrated including using a hair light and a background light. The duration of this lesson is fifty-four minutes and includes comprehensive PDF back up notes.
Lesson 3: LOCATION PORTRAITURE
Location portraiture is a fantastic way to try out portrait photography. You don’t need a studio or any extra equipment. In this lesson we look at taking portraits out on location. The location might be an outside area or may well be indoors. We look at accessing the location, posing, the difference between a PR portrait and a social portrait, using natural light, exposure metering, fill flash and the equipment needed for location portraiture.
Lesson 4: AVAILABLE LIGHT (This is a PDF lesson only)
.
MODULE FIVE:
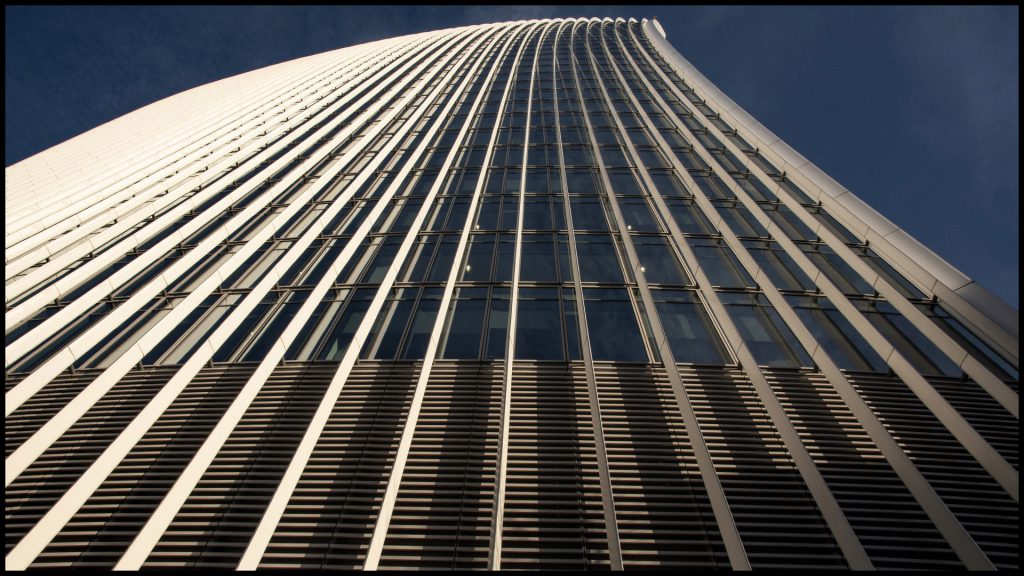
Lesson 1: ARCHITECTURE: HOW TO PHOTOGRAPH BUILDINGS
Photographers have been taking pictures of buildings since the first days of photography. In this lesson we will cover all aspects of photographing architecture. Understanding perspective: both vertical and horizontal perspective, how to avoid vertical linear perspective distortion (stopping a building from looking like it’s falling over), tilt and shift lenses, understanding how vanishing points affect the composition, lighting for buildings outside and lighting for inside interior shots. Controlling depth of field and composition will also be looked at in detail.

Lesson 2: HIGH DYNAMIC RANGE PHOTOGRAPHY (HDR)
There are times when the camera’s digital sensor cannot record the whole range of light tones in the image. There will be either under or over-exposure. There are two ways around this problem. Sometimes an ND graduated filter can be used. It’s not always possible to use an ND grad though. This is where the HDR technique comes into its own. In this lesson I will explain how to take the images required to produce an HDR image and then look at the post-production computer part of the technique. This lesson will give you much greater flexibility when it comes to achieving the correct exposure of your image in challenging lighting conditions.
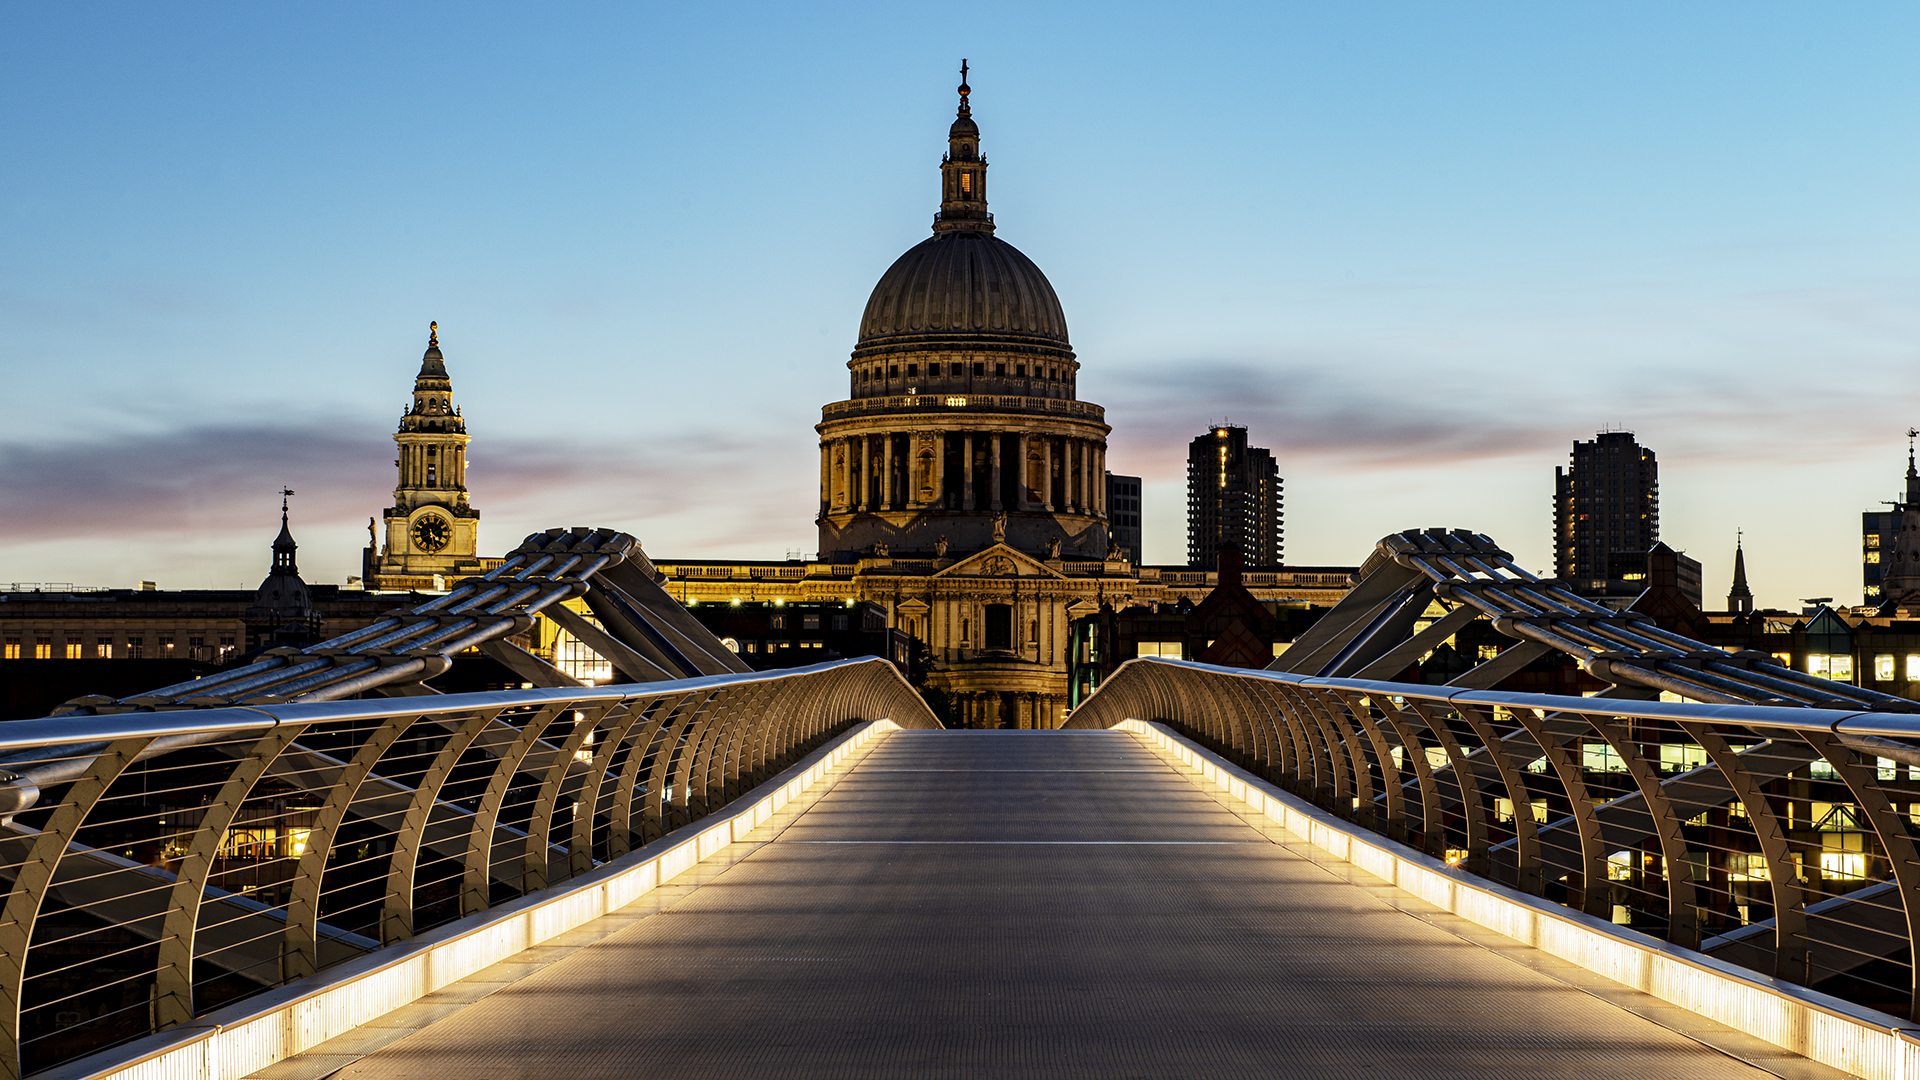
Lesson 3: NIGHT PHOTOGRAPHY
In this lesson we look at all aspects of night photography from photographing buildings at night to capturing light trails and painting with light which involves using a long exposure and an artificial light source. In this lesson these technique is fully explained using an outside location and also using a subject in an inside location. Exposure metering, the shutter speed required, equipment needed, what to consider when choosing a location or subject and safety will all be looked at in detail.

Lesson 4: HOW TO CREATE A DIGITAL PANORAMIC IMAGE
There are occasions when a single frame will not do the subject justice. These are the times to shoot a digital panoramic image which involves taking a number of images and stitching them together in a post -production software package such as Adobe Photoshop. In this lesson I will show you how to take a number of photographs that will allow your software to effortlessly stitch them together to create a dynamic panoramic image. This lesson also includes the post production computer part of the process.
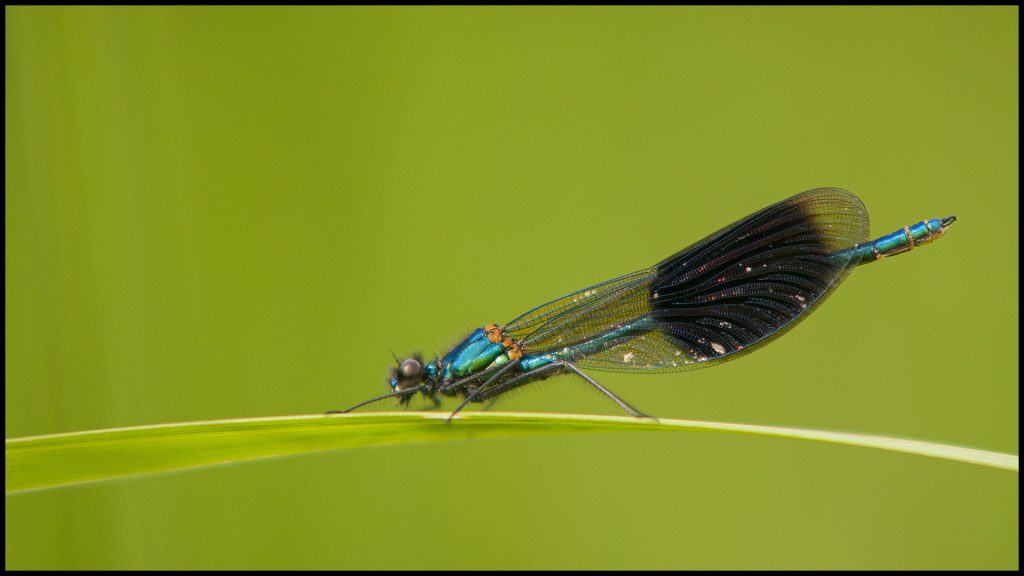
Lesson 5: MACRO PHOTOGRAPHY
Macro photography is a wonderful l area of photography where even the most mundane objects can make remarkable photographs. In this lesson all the equipment and techniques required to take successful macro images will be covered in detail. What is a macro photograph? What equipment is needed for macro photography? Lighting for macro photography, using supplementary flash lighting including fill flash, off camera flash and ring flash. What shutter speed to avoid subject movement and camera shake? Controlling depth of field, focus stacking, focusing and composition.
Lesson 6: WILDLIFE PHOTOGRAPHY
Capturing the perfect wildlife image requires skill and patience. In this lesson we will look at all the technical skills required to capture that moment of fleeting action along with field craft, photography hides, composition, and lighting. Focus modes for wildlife photography, exposure modes (manual exposure verses shutter priority or aperture priority). ISO will be explained thoroughly. Using shutter speed creatively along with depth of field are important creative tools to be explored.
Lesson 7: CONTROLLING DEPTH OF FIELD
Controlling depth of field is a key skill for the photographer. In this lesson we look at this subject in detail. All the factors controlling depth of field will be explained along with hyper focal focussing, finding the “sweet spot” of a lens and how diffraction affects the image.
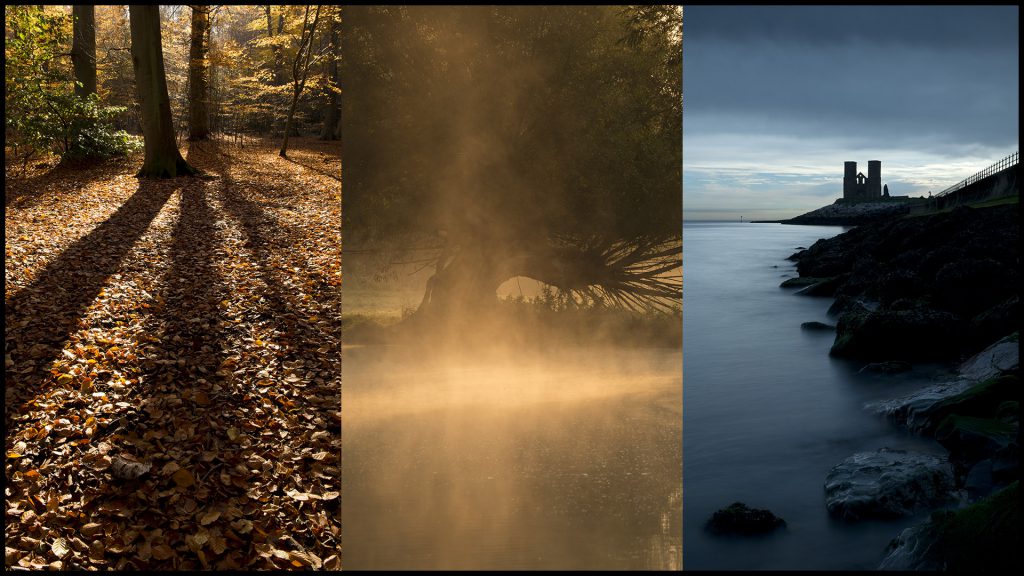
Lesson 8: HOW TO CREATE IMPACT & MOOD
.
There is no time limit when it comes to completing this distance learning photography course. You can complete modules at a pace that suits your own personal circumstances. This course is a very convenient way to really improve your photography. You can learn at home at a speed that suits you with your personal tutor just a ‘phone call or an email away helping you to create perfect pictures.
In keeping with the classroom lessons, this course includes advice and support from us throughout the duration of the course and beyond in many cases. We still have ex-students calling for advice many months after attending a series of lessons. We are more than happy to help wherever possible.
Each module comes complete with a set of projects for you to complete which you would then return to us for assessment – by email. We find this is a really useful part of the course because photography is a practical subject. By working your way through the projects, you will find that it cements the information gained from the lessons. Our constructive critique of each of your images will help you to improve in leaps and bounds!
Taster Clip

How to use this website
Firstly, thank you for your interest in our website.
Once you have added a course or a lesson to the shopping cart and paid the appropriate amount, you will receive an email with a link. Just click on the link and you will then be able to stream the lesson and/or download it.
If you have any problems please email us via the contact page.
Send this course as a gift!