Course Description
“
In this course we take an in-depth look at a number of diverse photographic subjects. This really is a wide ranging course. We cover photographic genres such as wildlife photography, macro photography, night photography, head-and-shoulders portraits, how to pose groups, how to use studio lighting, still life/product photography, creating a digital panoramic image, location portraiture, high dynamic range photography, architectural photography and controlling depth-of-field using hyper focal focusing.
By the end of this course you will be able to successfully photograph a wide range of photographic subjects with confidence.
- Steve Hedges LMPA. LRPS
”
Video Lesson Descriptions

Lesson 1: STILL LIFE / PRODUCT PHOTOGRAPHY
Setting up a home studio need not be an expensive undertaking. In this lesson we look at the equipment required to take professional creative still- life images. The resulting pictures may be for a paying client, an ebay business or the creative joy of taking a fantastic photograph. The process is the same regardless of the reason for taking the picture in the first place. We look at how successful images can be taken using a couple of desk lamps and a sheet of white card, to using studio lighting and accessories. How to light and photograph solid objects, translucent objects such as glass, textured subjects and multiple objects will be demonstrated in this video. Along with how to feather the light source and using a light tent. How to meter each lighting set-up will also be explained in detail. Duration of this video is seventy minutes. Full comprehensive PDF back up notes are also included.
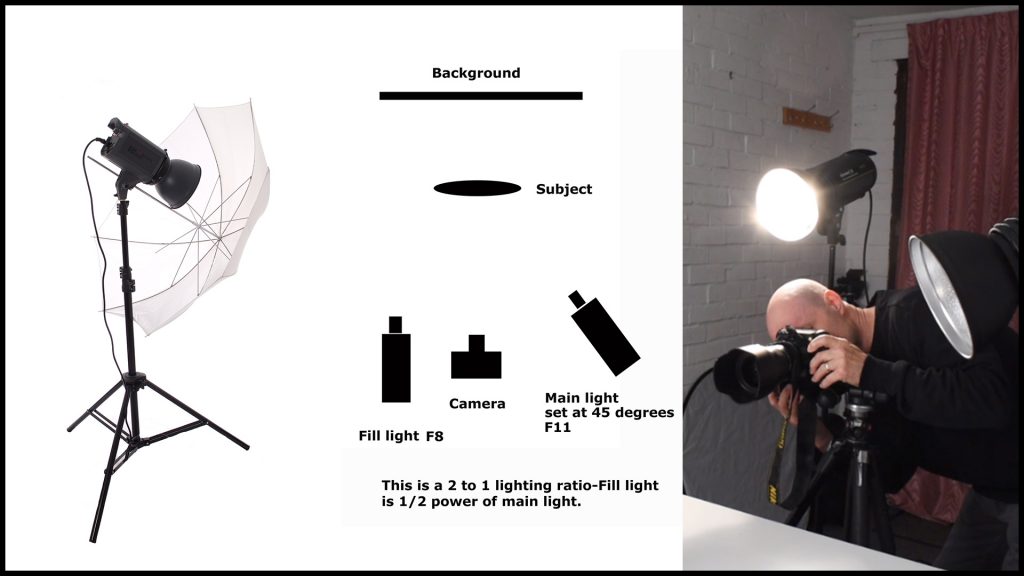
Lesson 2: HOW TO USE STUDIO LIGHTING
As the name suggests this lesson demonstrates how to use both types of studio lighting: continuous and flash lighting. We take a look at what equipment is available including what lighting accessories can be used to modify the light source. The use of lighting umbrellas (brollies) soft boxes and snoots will be explained. How to set up a single studio light, then more than one studio light will be demonstrated. How to set up a lighting ratio using an incident light meter and a reflective light meter will be explained in detail. The duration of this lesson is sixty-three minutes and includes comprehensive PDF notes.

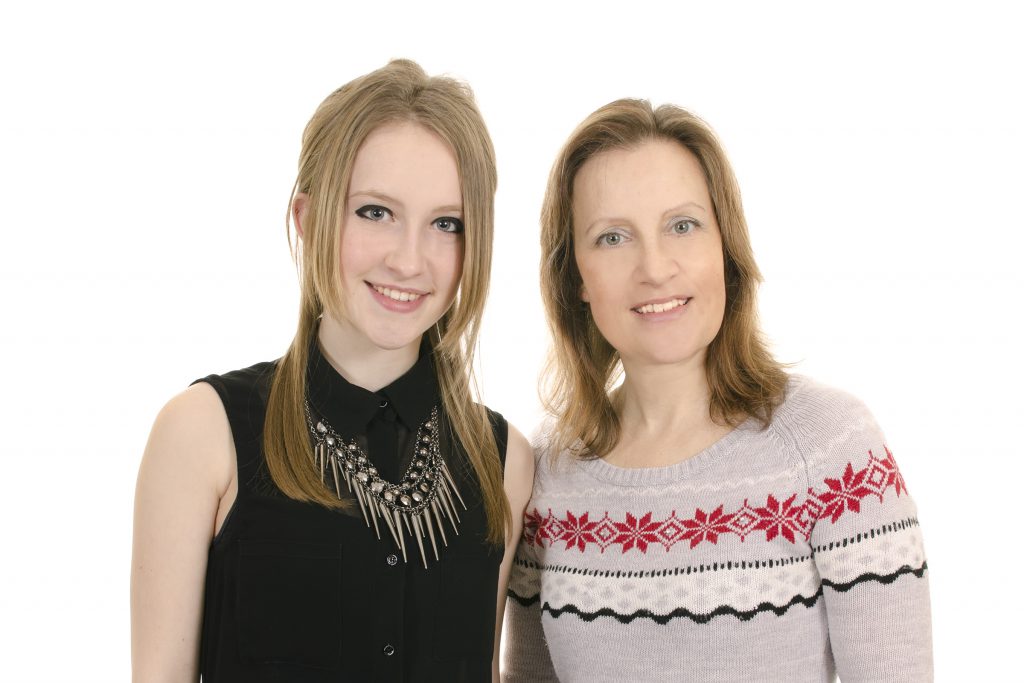
Lesson 3: HEAD-AND-SHOULDERS PORTRAITS
This lessons looks at everything you need to know in order to take head-and-shoulder portraits. What type of lighting? Daylight or studio lighting is explored in detail. What type and style of background? How to pose the model, how to create the right atmosphere and mood for the image, how to interact with your model in order to make them feel relaxed and how to take a flattering portrait. The technical aspects of portraiture will also be covered including a number of lighting set-ups, where to focus, getting the right exposure and using reflectors. The duration of this video lesson is sixty-eight minutes and includes a comprehensive set of PDF notes.
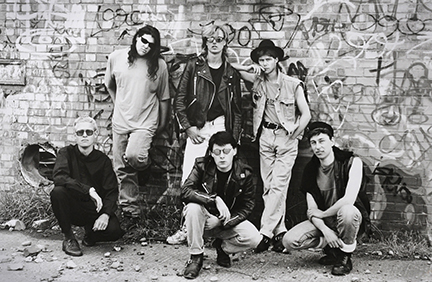
Lesson 4: PORTRAIT PHOTOGRAPHY PART 2
This lesson follows on from the head and shoulders portrait lesson. It looks at how to pose for a 1/2 length portrait, ¾ length portrait and full-length portrait. How to pose groups of 2, 3, 4, 5 or more people. How to light a white background. More complex lighting set ups will also be demonstrated including using a hair light and a background light. The duration of this lesson is fifty-four minutes and includes comprehensive PDF back up notes.
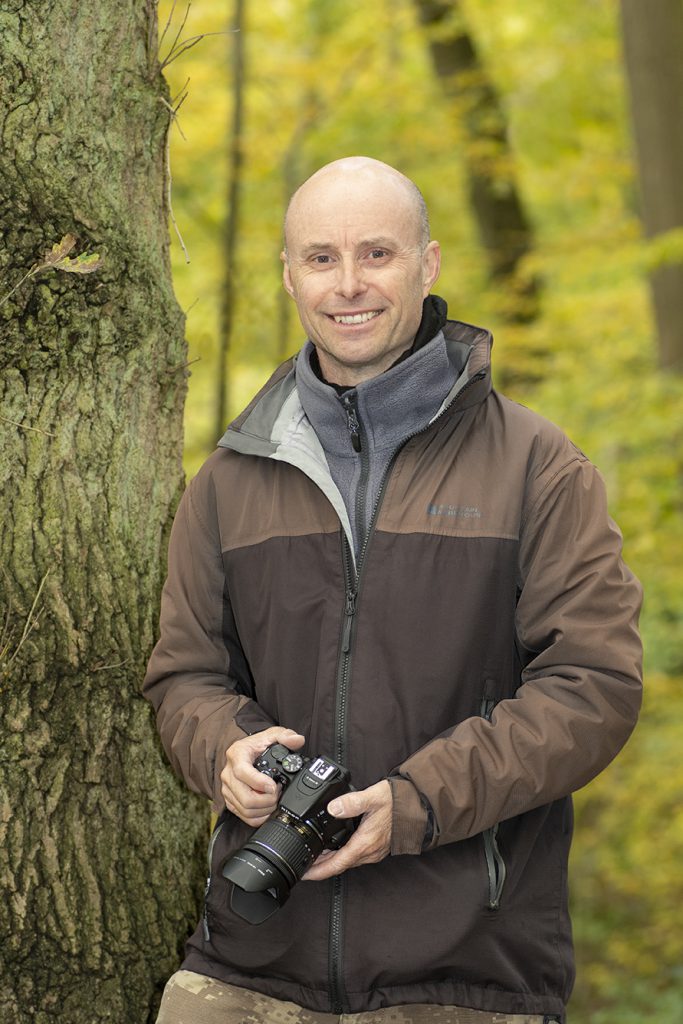
Lesson 5: LOCATION PORTRAITURE
Location portraiture is a fantastic way to try out portrait photography. You don’t need a studio or any extra equipment. In this lesson we look at taking portraits out on location. The location might be an outside area or may well be indoors. We look at accessing the location, posing, the difference between a PR portrait and a social portrait, using natural light, exposure metering, fill flash and the equipment needed for location portraiture.
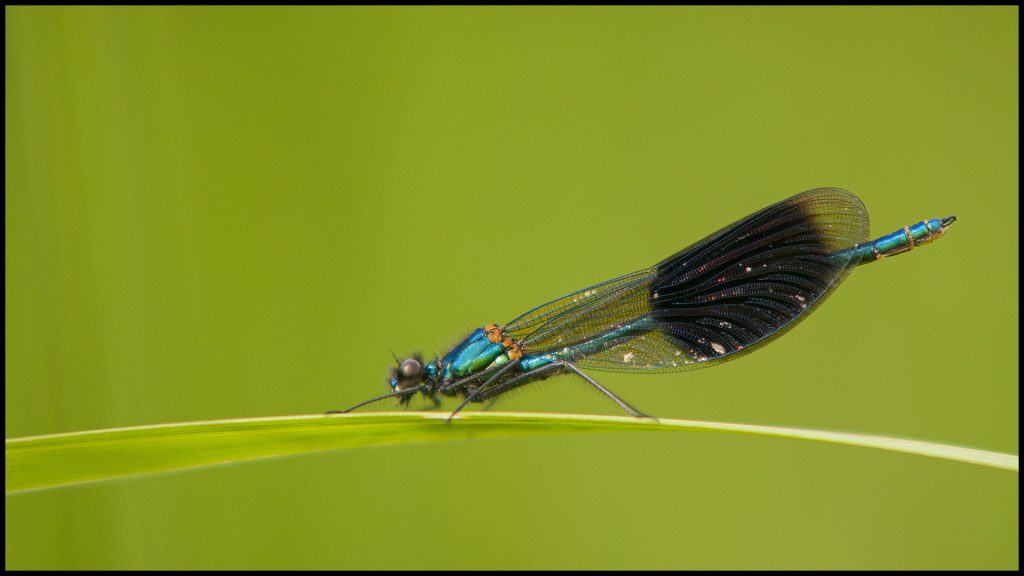
Lesson 6: MACRO PHOTOGRAPHY
Macro photography is a wonderful l area of photography where even the most mundane objects can make remarkable photographs. In this lesson all the equipment and techniques required to take successful macro images will be covered in detail. What is a macro photograph? What equipment is needed for macro photography? Lighting for macro photography, using supplementary flash lighting including fill flash, off camera flash and ring flash. What shutter speed to avoid subject movement and camera shake? Controlling depth of field, focus stacking, focusing and composition.
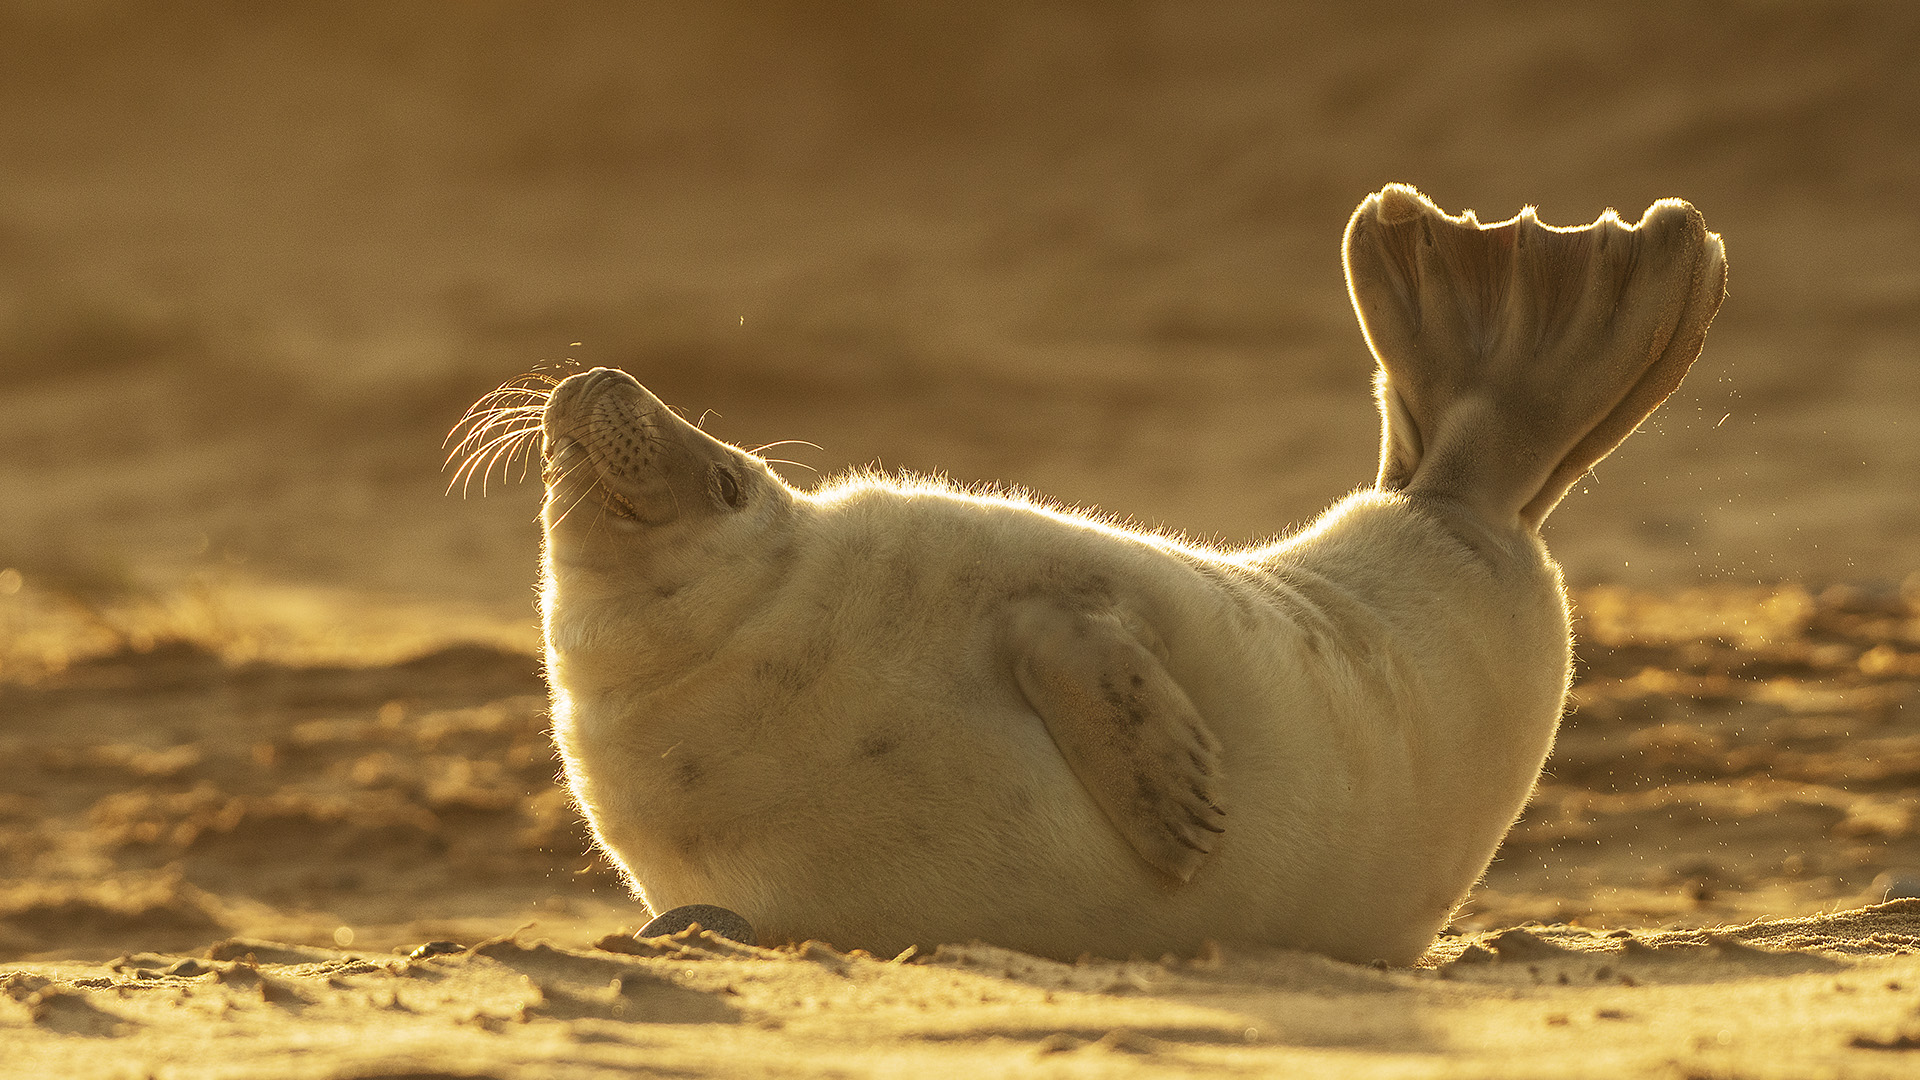
Lesson 7: WILDLIFE PHOTOGRAPHY
Capturing the perfect wildlife image requires skill and patience. In this lesson we will look at all the technical skills required to capture that moment of fleeting action along with field craft, photography hides, composition, and lighting. Focus modes for wildlife photography, exposure modes (manual exposure verses shutter priority or aperture priority). ISO will be explained thoroughly. Using shutter speed creatively along with depth of field are important creative tools to be explored.
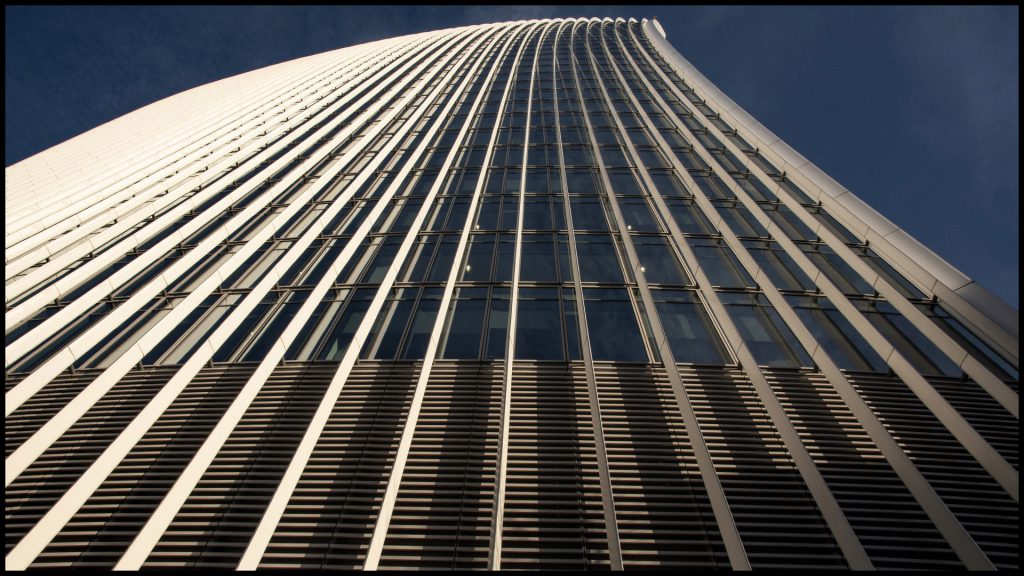
Lesson 8: ARCHITECTURE: HOW TO PHOTOGRAPH BUILDINGS
Photographers have been taking pictures of buildings since the first days of photography. In this lesson we will cover all aspects of photographing architecture. Understanding perspective: both vertical and horizontal perspective, how to avoid vertical linear perspective distortion (stopping a building from looking like it’s falling over), tilt and shift lenses, understanding how vanishing points affect the composition, lighting for buildings outside and lighting for inside interior shots. Controlling depth of field and composition will also be looked at in detail.

Lesson 9: HOW TO CREATE A DIGITAL PANORAMIC IMAGE
There are occasions when a single frame will not do the subject justice. These are the times to shoot a digital panoramic image which involves taking a number of images and stitching them together in a post -production software package such as Adobe Photoshop. In this lesson I will show you how to take a number of photographs that will allow your software to effortlessly stitch them together to create a dynamic panoramic image. This lesson also includes the post production computer part of the process.
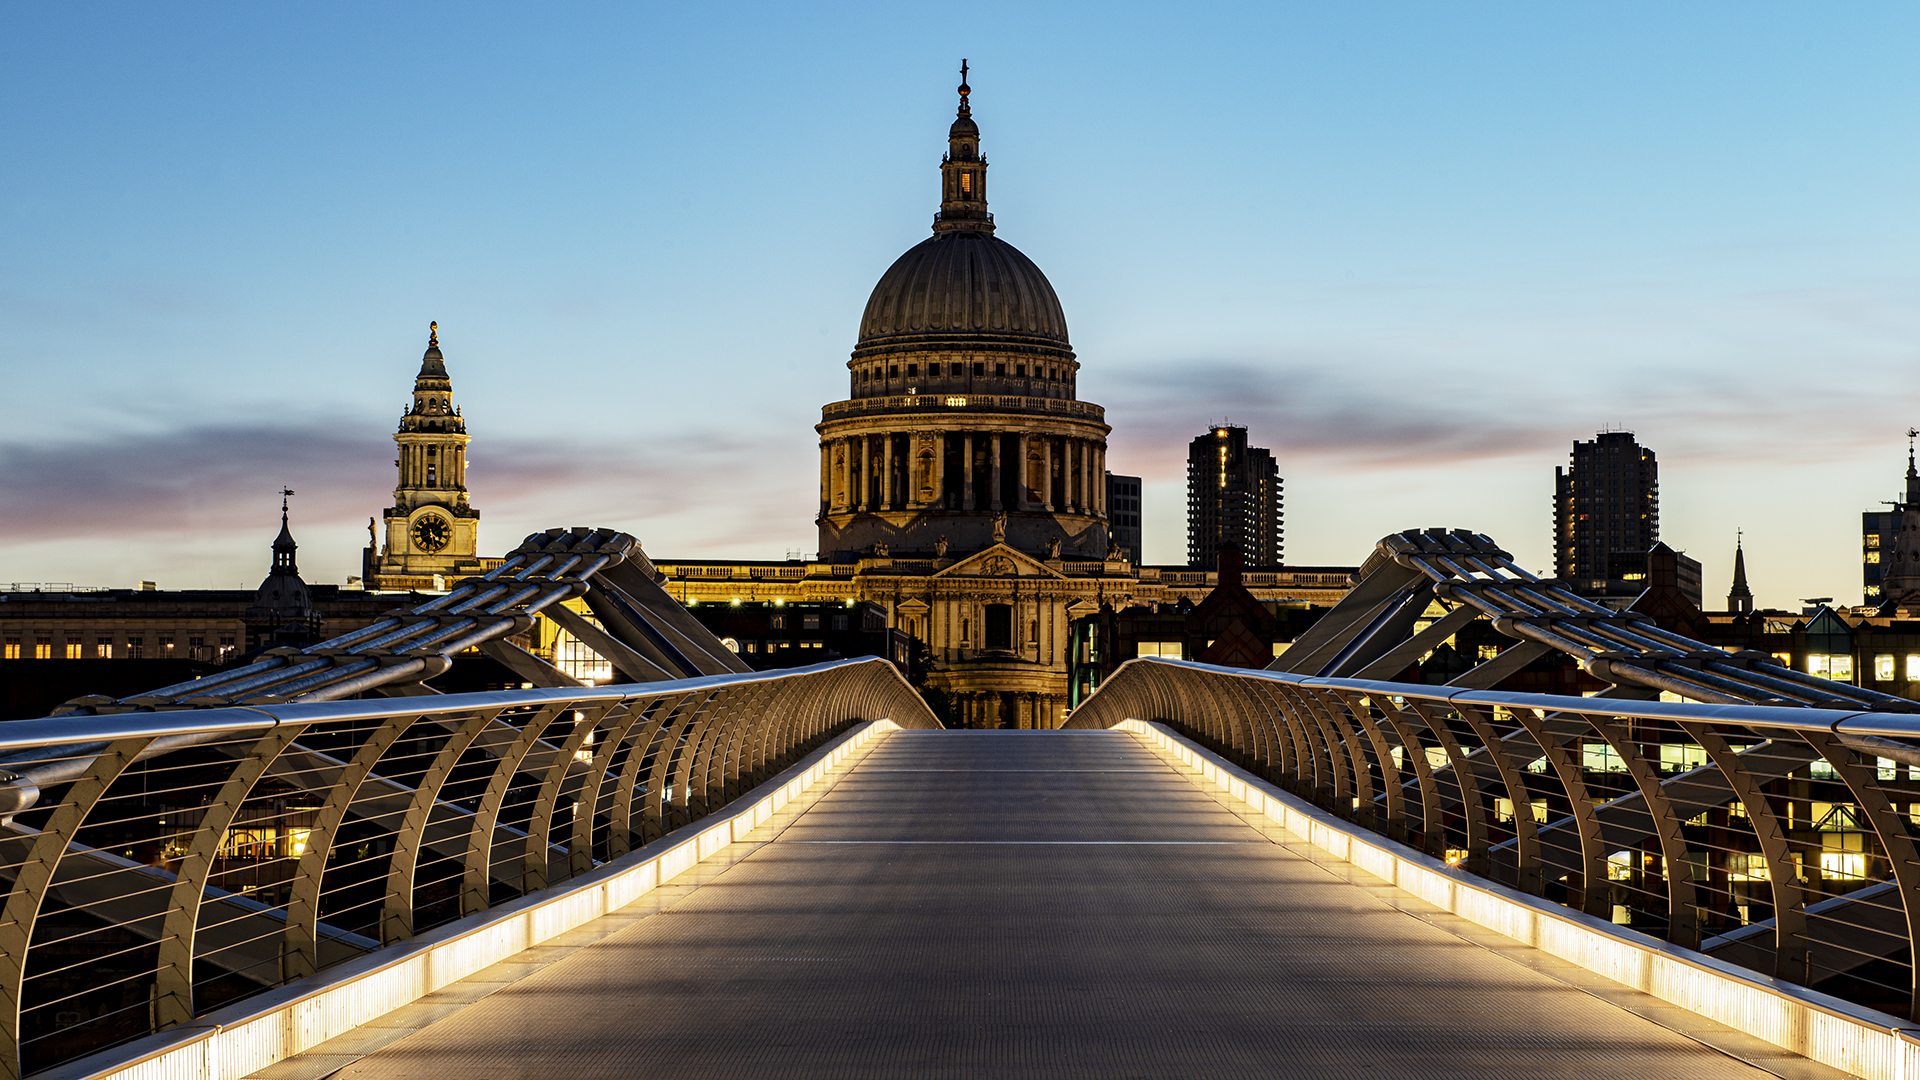
Lesson 10: NIGHT PHOTOGRAPHY
In this lesson we look at all aspects of night photography from photographing buildings at night to capturing light trails and painting with light which involves using a long exposure and an artificial light source. In this lesson these technique is fully explained using an outside location and also using a subject in an inside location. Exposure metering, the shutter speed required, equipment needed, what to consider when choosing a location or subject and safety will all be looked at in detail.

Lesson 11: HIGH DYNAMIC RANGE PHOTOGRAPHY (HDR)
There are times when the camera’s digital sensor cannot record the whole range of light tones in the image. There will be either under or over-exposure. There are two ways around this problem. Sometimes an ND graduated filter can be used. It’s not always possible to use an ND grad though. This is where the HDR technique comes into its own. In this lesson I will explain how to take the images required to produce an HDR image and then look at the post-production computer part of the technique. This lesson will give you much greater flexibility when it comes to achieving the correct exposure of your image in challenging lighting conditions.
Lesson 12: CONTROLLING DEPTH OF FIELD
Controlling depth of field is a key skill for the photographer. In this lesson we look at this subject in detail. All the factors controlling depth of field will be explained along with hyper focal focussing, finding the “sweet spot” of a lens and how diffraction affects the image.
Tutor Support
“
Along with the video lessons this course also includes projects to be completed which you would then email to me for a constructive critique. Photography is a practical subject so I think the projects add an important practical element to this course.
Throughout the duration of the course I will be available to answer any questions you might have about the course material. Again, I think this is an important part of the course.
- Steve Hedges LMPA. LRPS
”
Taster Clip

How to use this website
Firstly, thank you for your interest in our website.
Once you have added a course or a lesson to the shopping cart and paid the appropriate amount, you will receive an email with a link. Just click on the link and you will then be able to stream the lesson and/or download it.
If you have any problems please email us via the contact page.
Send this course as a gift!